
 English (United Kingdom)
  Nederlands (nl-NL)
  Magyar
  Deutsch (Deutschland)
  Croatian (Hrvatski)
  Polski (PL)
  Español (España)
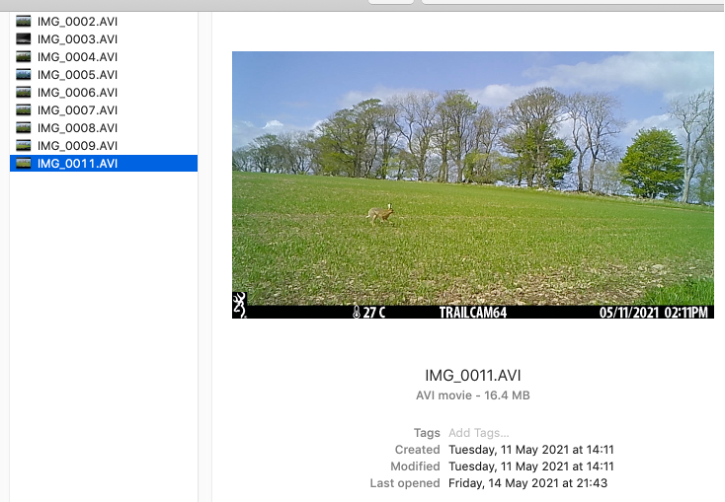
 We assume that you have downloaded and installed the NameChanger software and that you are starting with a folder that contains a number of AVI files that must be renamed (such as the folder pictured below).
First, you should click the "Options" menu item (highlighted with a red oval in the image below) and select "Hide extensions" (it appears you will need to do this each time you use the software).
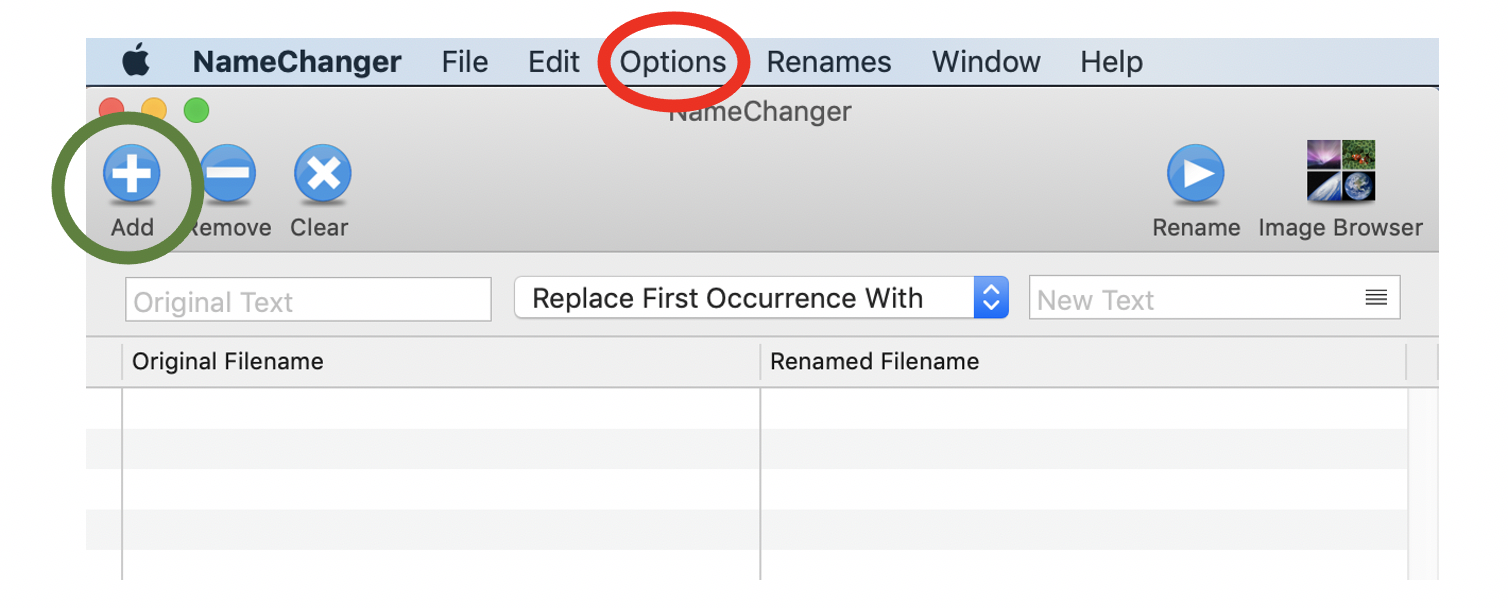
Next, click the "Add" button (highlighted with a green circle, above), navigate to and select the files you wish to rename.
There may be better ways to do this but, for our first try, we then renamed files in a 2-step process. First, we selected the "Date" option in the pull down list of renaming types, as pictured below.

With "Replace all" selected, we chose the "File Creation" date but chose a "Custom" format, entered exactly as:
_YYYYMMdd_HHmmss
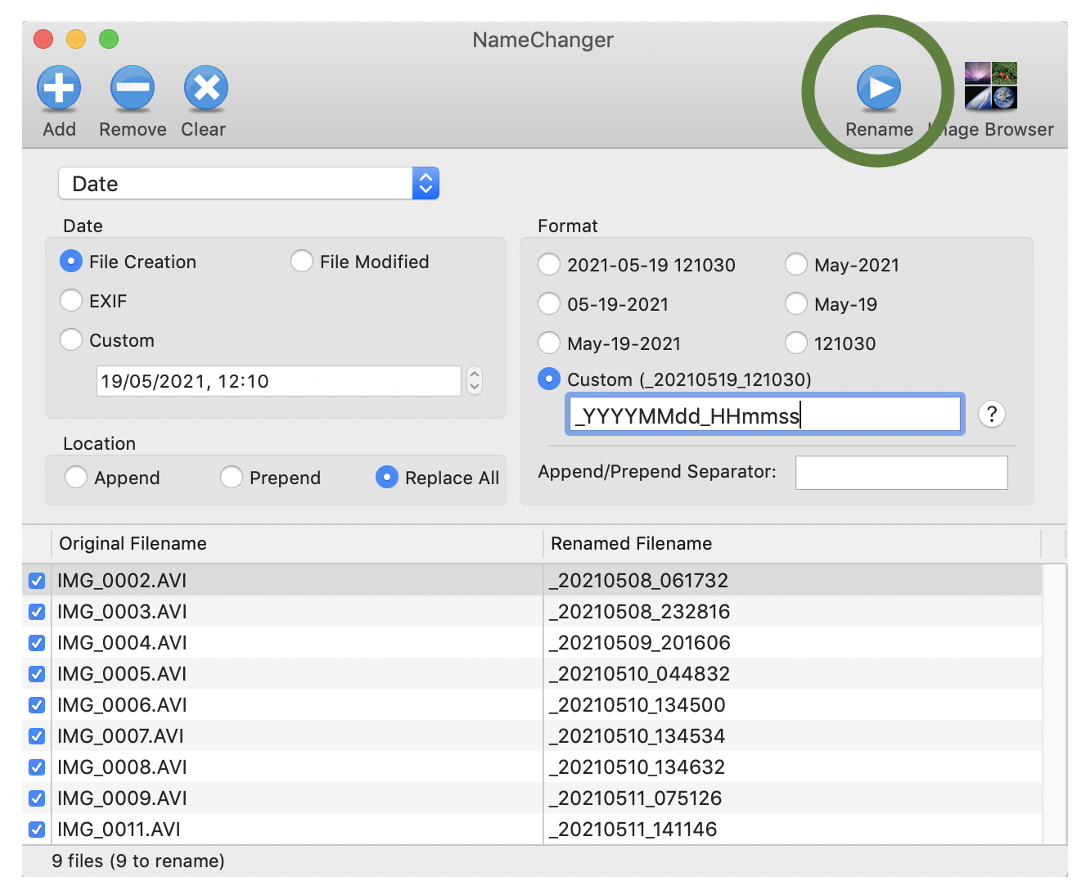
Once you are happy with the new names, as displayed, you can click the "Rename" button, as illustrated above with a green circle.
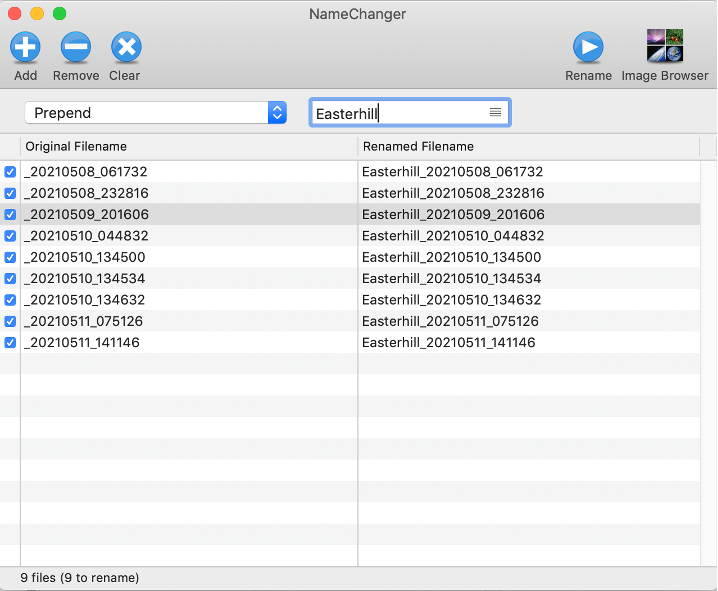
The second step was to add a meaningful prefix to each filename. For that, we switched from the "Date" option to a "Prepend" option, and simply typed in the desired prefix, as shown below.
If you find better / more efficient ways of doing this, please let us know. In the meantime, we hope this helps.